The Cuban link chain, a staple in contemporary fashion, has transcended its roots in hip-hop culture to become a symbol of bold elegance. Its intricate design and robust appearance have captivated fashion enthusiasts worldwide.
For artisans and DIY enthusiasts, the creation of a Cuban link chain is not just a craft but a journey into the heart of jewelry-making artistry. This guide offers a step-by-step journey into making your own Cuban link chain, covering everything from material selection to the final polish.
Step-by-Step Guide to Making a Cuban Link Chain
Step 1: Gather Materials and Form Links
Materials Required

To start, you’ll need specific metals like gold or silver, soldering materials, and an array of tools including cutters, pliers, and a torch.
Forming the Links
The process begins with meticulously cutting and shaping the metal into uniform links. This precision is crucial for the chain’s overall consistency and strength.
Step 2: Close and Solder the Links
Closing the Links

Mastering the closing of links is essential for a seamless appearance. It requires a steady hand and a keen eye for detail.
Soldering Process
Soldering is more art than science, demanding patience and precision. A step-by-step approach ensures each link is strong and flawlessly joined.
Step 3: Twist the Chain and File the Facets
Twisting the Chain

The signature Cuban link look comes from a specific twisting method that requires both strength and delicacy.
Filing for Smoothness
Filing the facets smoothes out imperfections, ensuring the chain feels luxurious against the skin.
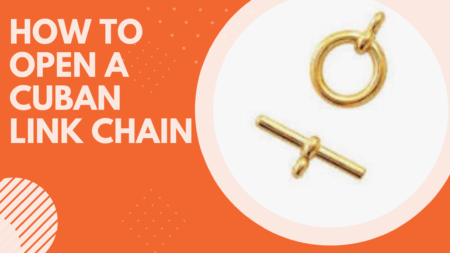
Step 4: Construct the Frame of the Box Clasp
Designing the Clasp

Designing the clasp is a creative process, blending functionality with aesthetic appeal.
Assembly Tips
Efficient assembly of the clasp components is key to the chain’s overall functionality and appearance.
Step 5: Solder the Box Closed
Precision Soldering

This step requires meticulous soldering skills to ensure the clasp’s mechanism remains unimpeded.
Step 6: Create a Tongue and Button of the Clasp
Crafting the Tongue and Button
This involves crafting and refining the clasp’s tongue and button, critical components that determine the ease of use.
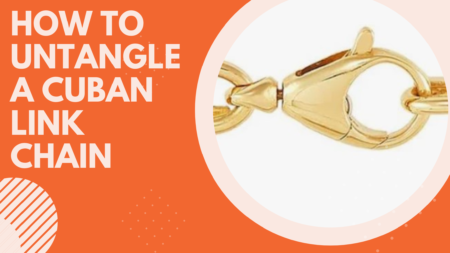
Step 7: Solder the Clasp to the Chain
Attaching the Clasp

The clasp must be securely soldered to the chain, ensuring it holds up to regular use.
Ensuring Functionality
The functionality of the clasp is paramount, ensuring it operates smoothly and securely.

Step 8: Adjust and Polish the Chain
Final Adjustments

Make final tweaks to the chain, ensuring it drapes elegantly and comfortably.
Polishing for Shine

The final polish transforms the chain from a crafted item to a piece of exquisite jewelry, radiating a professional, high-quality finish.
End Note
As I wrap up this comprehensive guide on creating a Cuban link chain, it’s important to reflect on the journey we’ve embarked upon. From the initial selection of materials to the final polish, each step in crafting a Cuban link chain is imbued with a blend of artistry and technical skill. This guide aimed to demystify the process, providing you with clear, actionable steps to bring your vision to life.
Remember, the creation of a Cuban link chain is more than just a crafting endeavor; it’s an expression of personal creativity and a testament to patience and precision. Whether you are a seasoned jeweler or a curious beginner, this journey offers a fulfilling experience, culminating in a piece of jewelry that resonates with both style and personal accomplishment.
I encourage you to embrace each step of the process, from the meticulous crafting of each link to the satisfaction of seeing your finished chain gleam. As you hold your completed Cuban link chain, know that it represents not just a beautiful accessory, but a journey of learning, craftsmanship, and self-expression.
FAQs on Creating a Cuban Link Chain
What materials are needed to make a Cuban link chain?
To make a Cuban link chain, you typically need a metal such as gold or silver, soldering materials, and tools like cutters, pliers, a jeweler’s saw, and a soldering torch.
How do I ensure my links are uniform in size?
Precision is key. Use a calibrated ruler or a digital caliper to measure each piece before cutting. Consistency in size and shape is crucial for the chain’s symmetry and strength.
What is the best technique for closing the links before soldering?
The best technique involves aligning the ends of each link precisely and using a pair of fine-nosed pliers to close them with minimal gaps. This ensures a seamless look after soldering.
Is it necessary to twist the chain to get the Cuban link look?
Yes, twisting the chain is a crucial step in achieving the signature Cuban link appearance. This step should be done carefully to maintain the integrity of each link.
Can I design my own clasp for the Cuban link chain?
Absolutely! Designing your own clasp allows for personalization and creativity. Ensure that your design is both aesthetically pleasing and functional.